


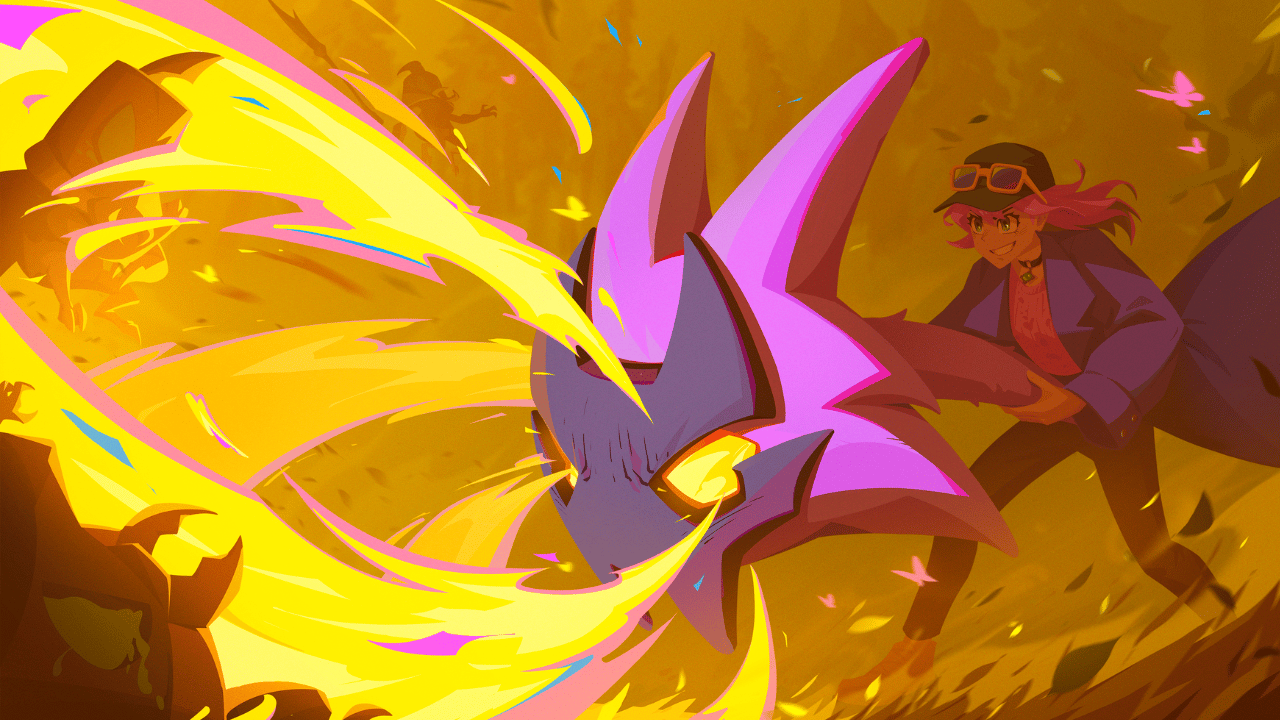
September 2026 update: mo.co has gone back to beta and the live game is on low maintenance. The team confirmed no new weapons in the upcoming seasons, so the Season 4 roster is still the current meta and this guide stays valid. Cosmetics and Collector Levels are safe; Weapons, Cores and Career Level progress is still under review.
Season 4 Weapons Explained
Season 4 brings three weapons to MO.CO, and they could not play more differently: Pyro is a burn-and-stun flamethrower, Storm Weaver is a charge-hungry melee hybrid, and Medicine Ball is the closest thing the game has to a dedicated team healer.
This guide covers every skill on all three, where each one lands on our tier list, and the fastest route to unlocking them through Weapon Sprints.
Season 4 Weapons At A Glance
| Weapon | Type | Role | Difficulty | Our Tier |
|---|---|---|---|---|
| Storm Weaver | Melee | Hybrid | Medium | S |
| Pyro | Ranged | DPS | Hard | A |
| Medicine Ball | Melee | Support | Easy | C |
What Season 4 Adds
Season 4 ships three weapons at once, which is the biggest single drop since the relaunch. All three are unlocked through Weapon Sprints rather than P.E.R.K.s, so they cost Chaos Energy instead of luck.
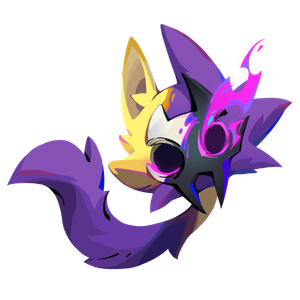 Pyro: a medium-range flamethrower built around burn stacking and a self-punishing overheat bar
 Storm Weaver: a melee hybrid whose skills charge faster the tougher the enemy is
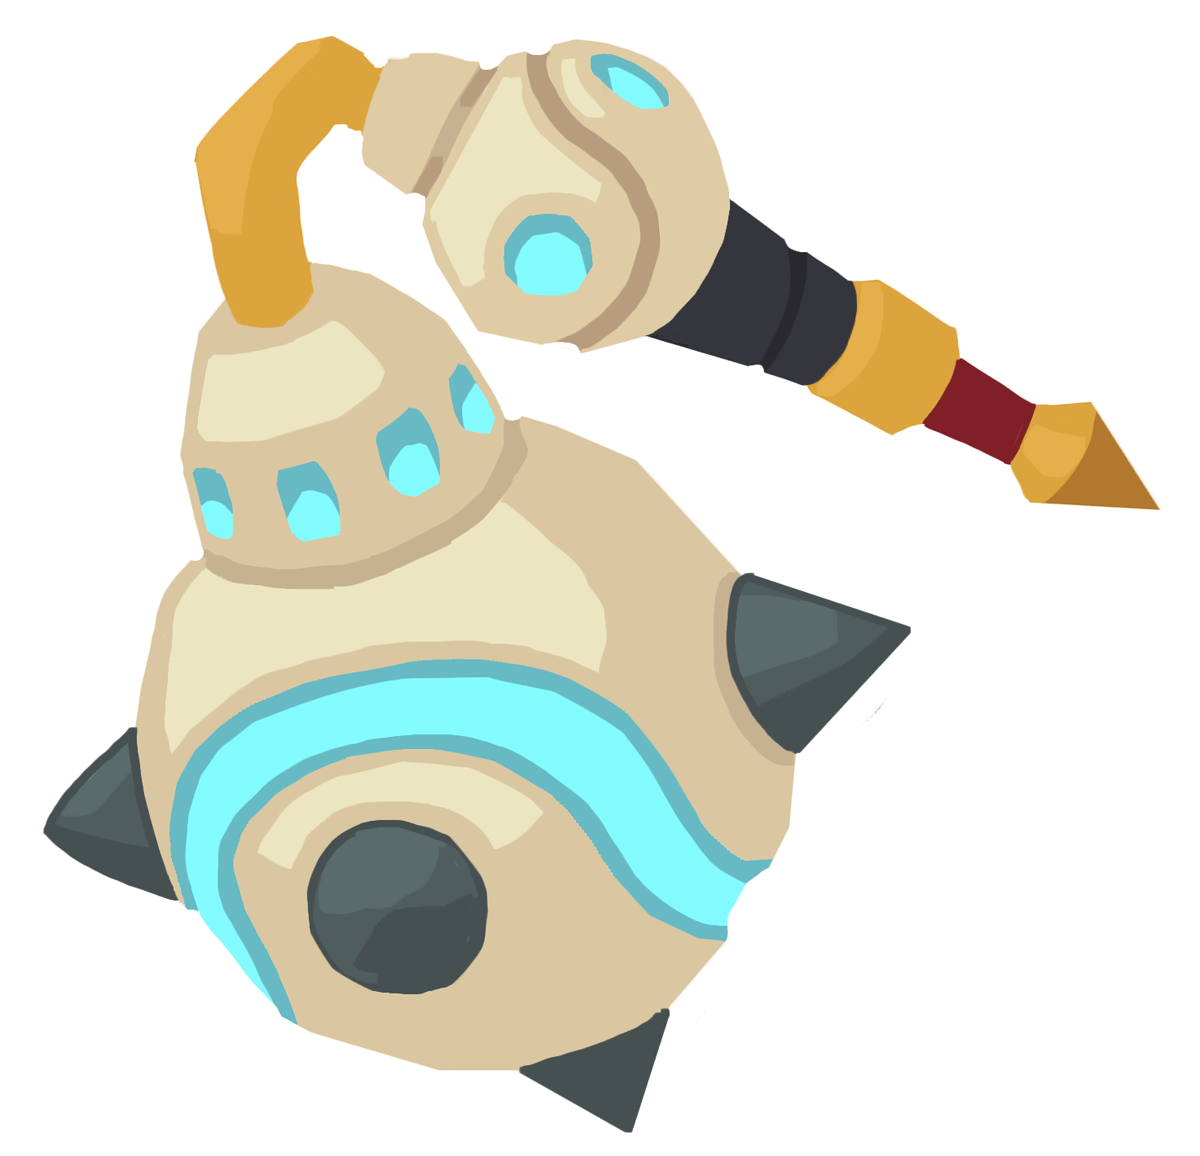 Medicine Ball: a close-range support that heals and hands out full damage immunity
Pro tip: Weapon Dojos for the new weapons arrive a week after the season starts, so do not panic if the mastery tracks look empty on day one.
Pyro: Burn Everything
Pyro breathes fire at medium range, damaging and burning everything in the cone. Hold the trigger too long and Pyro overheats: enemies get knocked back and stunned, but so do you. Managing that bar is the whole skill ceiling of the weapon.
- Dash: a plain forward dash, no damage attached
- Cute Cooldown: heals you and resets the overheat bar, so it is both your sustain and your reset button
- Precious Pyromania: sprays flames in every direction, damaging and burning everything in range
- Adorable Annihilation: instantly damages every burning enemy, stuns them and burns them harder
The combo that matters is Precious Pyromania into Adorable Annihilation: the first applies burn to a whole pack, the second detonates it into a group-wide stun. Against a tight Rift pull that is close to a free reset of the fight.
Pro tip: treat Cute Cooldown as a panic button, not a heal on cooldown. Burning your reset early and then overheating mid-pack is the single most common way to die on Pyro.
Pyro Skills
| Skill | What It Does |
|---|---|
| Dash | Quickly dash forward |
| Cute Cooldown | Heal yourself and reset the overheat bar |
| Precious Pyromania | Flames all around you, damaging and burning enemies in range |
| Adorable Annihilation | Instantly damage all burning enemies, stunning and burning them more |
Storm Weaver: Charge And Spin
Storm Weaver attacks with a sharp gust swing and dashes with Surge. Damaging enemies charges its skills, and the tougher the enemy the more charge you get, which makes it one of the few weapons that gets better against bosses rather than worse.
- Surge: a dash that slices through enemies and builds skill charge, and it stacks two at a time
- Tornado: enter tornado mode, pulling enemies toward you while dealing constant area damage
- Thunderstorm: fires lightning at random enemies, stunning them
- Healing Winds: creates a healing wind that continuously heals you and nearby allies
Because Surge stacks twice, you can chain two dashes back to back to close a gap and arrive with skills nearly charged. Tornado is the payoff: it pulls a scattered pack into one place, which sets up every area-damage teammate in the lobby.
Pro tip: save the second Surge charge. Dashing in on empty and then needing an escape is how Storm Weaver runs die.
Storm Weaver Skills
| Skill | What It Does |
|---|---|
| Surge | Dash forward slicing enemies, builds charge, stacks two at a time |
| Tornado | Tornado mode: pulls enemies in and deals constant area damage |
| Thunderstorm | Shoots lightning at random enemies, stunning them |
| Healing Winds | Healing wind that constantly heals you and nearby allies |
Medicine Ball: The Team Healer
Medicine Ball swings a weighted ball on a chain at close range with a warmup whomp attack, and charges its skills by landing hits with that attack and with Lunge.
- Lunge: dash forward hitting enemies with the ball, landing a hit starts charging your skills
- Tension Release: swings the ball around you, dealing damage and stunning enemies
- Vitamin U: heals you over time
- Immune System: temporarily shields you and nearby allies from all damage
Immune System is the reason to run this weapon. Full damage immunity for you and everyone nearby is a hard counter to telegraphed boss slams, and no other Season 4 weapon offers anything like it.
Pro tip: Medicine Ball is charge-gated, so you have to stay in melee to be useful. If your team is playing at range you will spend the fight with empty skills.
Medicine Ball Skills
| Skill | What It Does |
|---|---|
| Lunge | Dash forward hitting enemies, landing a hit charges your skills |
| Tension Release | Swing the ball around you, dealing damage and stunning enemies |
| Vitamin U | Heal yourself over time |
| Immune System | Temporarily shield yourself and nearby allies from all damage |
Where They Land On The Tier List
Storm Weaver goes straight into S tier. Charge scaling that rewards fighting elites, a pull, a stun and a team heal on one weapon is simply more utility than anything else in the pool.
Pyro sits in A tier. The burn-then-detonate combo is among the strongest pack clears in the game, but the overheat self-stun is a real, repeatable way to lose a run, and that keeps it off the top line.
Medicine Ball lands in C tier, which is a promotion from where it used to be. Immune System is genuinely excellent, but everything around it is slow, short-ranged and charge-gated.
Pro tip: tier lists rank a weapon's ceiling in coordinated play. If you mostly solo, Pyro will out-perform its A tier placement.
How To Unlock Them
All three Season 4 weapons come from Weapon Sprints, which cost Chaos Energy. Note that Chaos Energy requirements for Sprints were doubled, because the old ones cleared far too quickly.
- Weapon Sprints: the route for all new season weapons, paid for in Chaos Energy
- P.E.R.K.s: how you pick up older, previous-season weapons you missed
- Weapon Dojos: mastery tracks, added for the new weapons in the season's second week
Your Season Level resets to 1 at the start of every season and rolls into your permanent Career Level. The Final Stretch Pass now caps at level 100 with requirements capped at 300,000 Chaos Energy instead of a million, so the pass is meaningfully faster to finish than it was.
Pro tip: pick one weapon and finish its Sprint before starting another. Spreading Chaos Energy across all three at once is the slowest possible way to get any of them.
Key Units
- Pyro: Ranged DPS built on burn stacking and an overheat gamble
- Storm Weaver: Melee hybrid with a pull, a stun and a team heal
- Medicine Ball: Close-range support with full party damage immunity
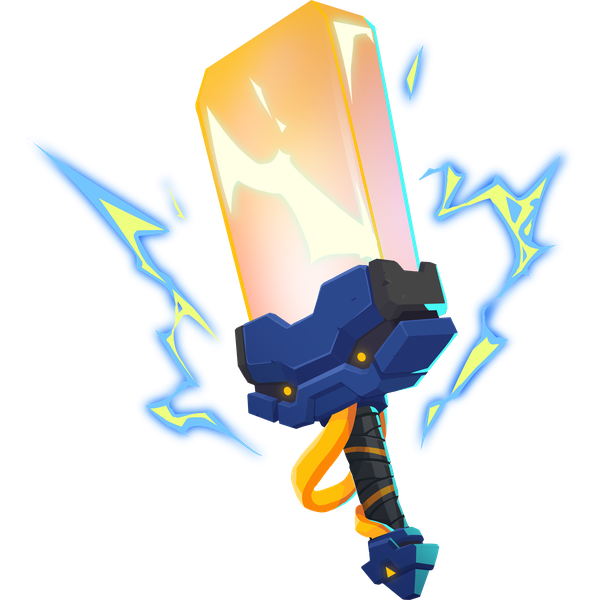 Zapsicle: Electric melee that chains lightning between packs
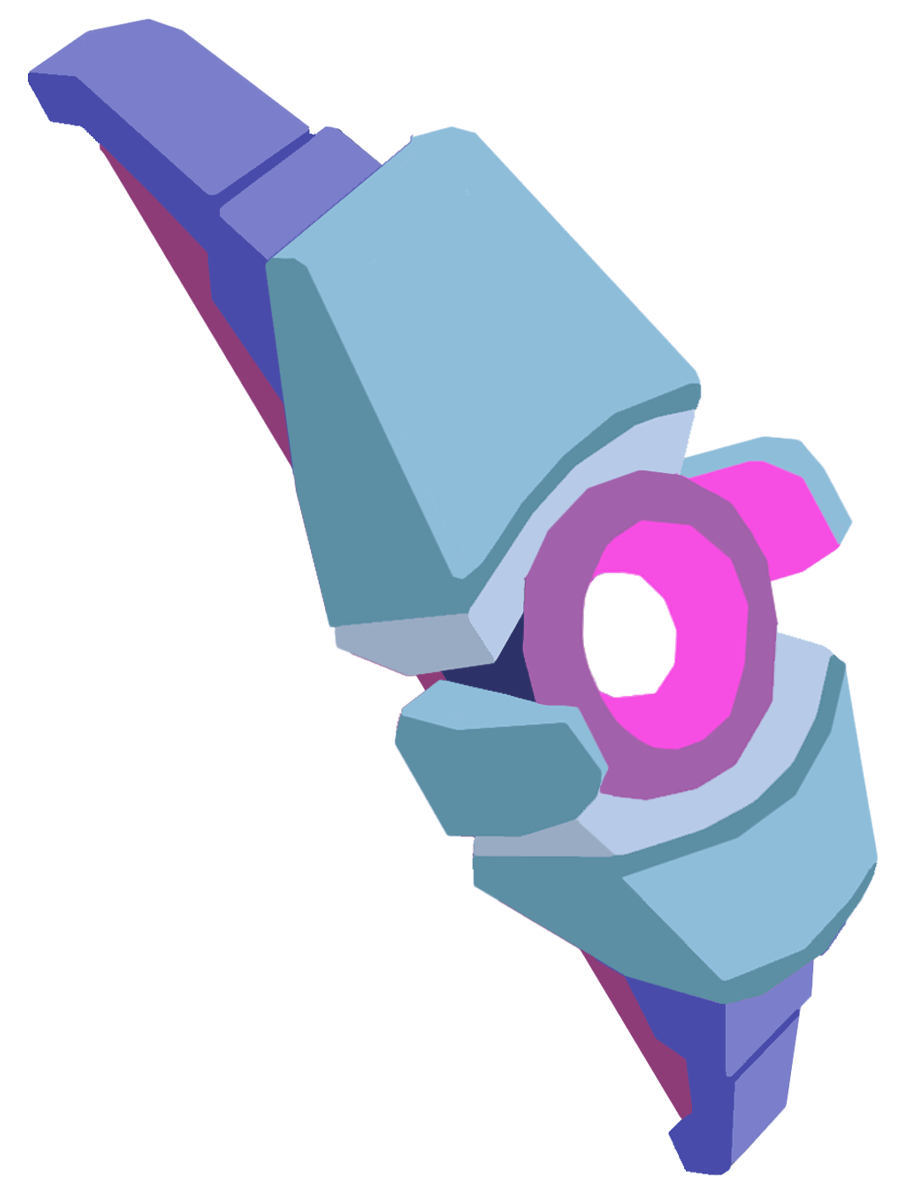 Speedshot: Still the safest ranged pick in the game
TL;DR
- ✅ Storm Weaver is the standout: it charges faster against tougher enemies and brings a pull, a stun and a heal.
- ✅ Pyro clears packs fastest via Precious Pyromania into Adorable Annihilation.
- ✅ Medicine Ball's Immune System gives your whole group full damage immunity on demand.
- ✅ All three unlock through Weapon Sprints, paid in Chaos Energy.
- ⚠️ Pyro's overheat stuns you as well as the enemies, so watch the bar.
- ⚠️ Chaos Energy costs for Weapon Sprints were doubled this season.
- ⚠️ Weapon Dojos for the new weapons only arrive in the season's second week.
Final Verdict
Season 4 is a strong drop. Storm Weaver is the one to chase first: it is the most complete weapon in the pool and it scales up exactly where most weapons fall off. Pyro is the fun pick and genuinely top tier at clearing packs once you respect the overheat bar. Medicine Ball is niche, but Immune System alone will win your group fights that nothing else would have saved.